How to Install a Patio
Looking to elevate your backyard and create a cozy outdoor haven? Adding a patio is a fantastic way to increase your home’s functionality and style. While hiring professionals can be helpful, you can absolutely handle patio installation yourself with the right tools, preparation, and guidance.
This guide will take you step-by-step through the process—from initial planning to finishing touches—so you can build an outdoor space you’ll love.
Why Add a Patio to Your Outdoor Space?
Before diving into installation, it’s good to consider why a patio might be the perfect addition:
-
Boosts Property Value: A well-designed outdoor area attracts buyers and increases resale value.
-
Creates Versatile Space: Ideal for dining, entertaining, or relaxing.
-
Enhances Curb Appeal: Adds charm and completes your yard’s look.
-
Cost-Effective: Expands your living space without expensive renovations.
Tools and Materials You’ll Need
Having the right equipment and supplies makes the process smoother.
Tools:
-
Rubber mallet
-
Tamper or plate compactor
-
Trowel
-
Broom
Materials:
-
Paving slabs, bricks, or stones
-
Edging materials (steel or plastic)
-
Coarse sand or gravel for the base
-
Patio base material
-
Polymeric sand to fill gaps
-
Landscape fabric to prevent weeds
Step 1: Plan and Design
Planning is crucial for a successful patio.
-
Define Purpose: Will it be for seating, dining, or a fire pit?
-
Pick Location: Choose a flat, well-drained area with good house access and sunlight.
-
Choose Materials: Options include concrete pavers, natural stone, bricks, or gravel.
-
Sketch Design: Outline the shape using stakes and string or a garden hose.
Step 2: Prepare the Ground
A stable base ensures longevity.
-
Clear grass, roots, rocks, and debris.
-
Excavate 7–9 inches deep to accommodate base layers and pavers.
-
Level the ground and create a slight slope (1 inch drop per 4 feet) for drainage.
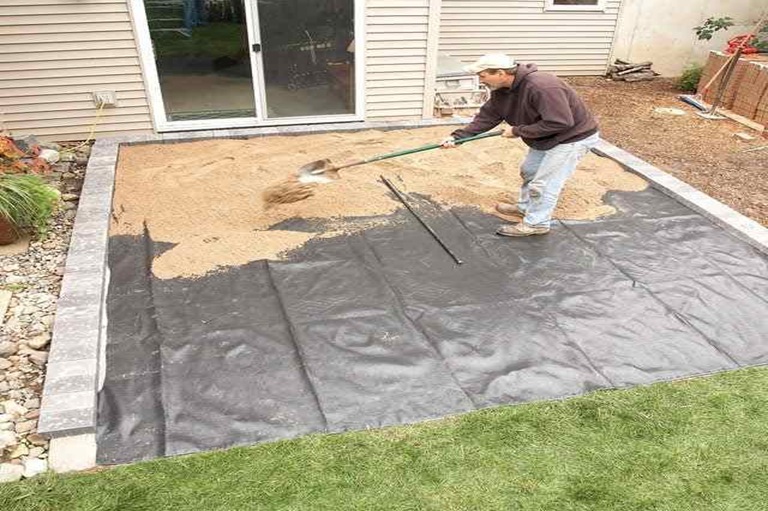
Step 3: Lay the Foundation
A strong foundation prevents shifting.
-
Lay landscape fabric to block weeds.
-
Spread 4 inches of gravel or coarse sand.
-
Compact thoroughly.
-
Ensure the base is level and sloped for water runoff.
Step 4: Place the Pavers
Watch your new patio take shape.
-
Start in a corner and work across, following your pattern.
-
Maintain even spacing using spacers or by eye.
-
Use a rubber mallet to set stones securely.
-
Check level continuously, adjusting sand beneath as needed.
Step 5: Secure the Edges
Edge restraints keep your patio intact.
-
Install steel or plastic edging around the perimeter.
-
Fix edges in place with stakes or spikes.
Step 6: Fill Gaps and Finish
Give your patio a polished look.
-
Sweep polymeric sand into joints between pavers.
-
Lightly mist with water to activate the sand and lock stones in place.
-
Clean off any excess sand.
Step 7: Add Final Touches
Make your patio inviting.
-
Arrange furniture, plants, string lights, or outdoor rugs to personalize the space.
Maintenance Tips for Longevity
-
Sweep regularly to clear debris.
-
Reapply polymeric sand annually to keep joints stable.
-
Clean pavers twice yearly with mild soap and water.
-
Optionally, seal the surface for stain protection and color enhancement.
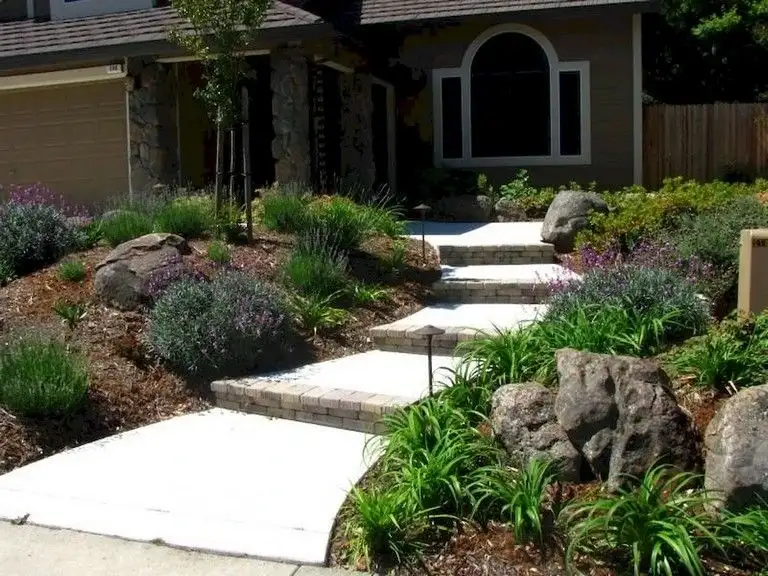
Your Backyard Oasis Awaits!

Now that your patio is complete, it’s time to turn it into a personal retreat. Whether you’re hosting summer barbecues, enjoying quiet mornings with coffee, or unwinding under the stars, your outdoor space is ready to reflect your lifestyle and creativity.
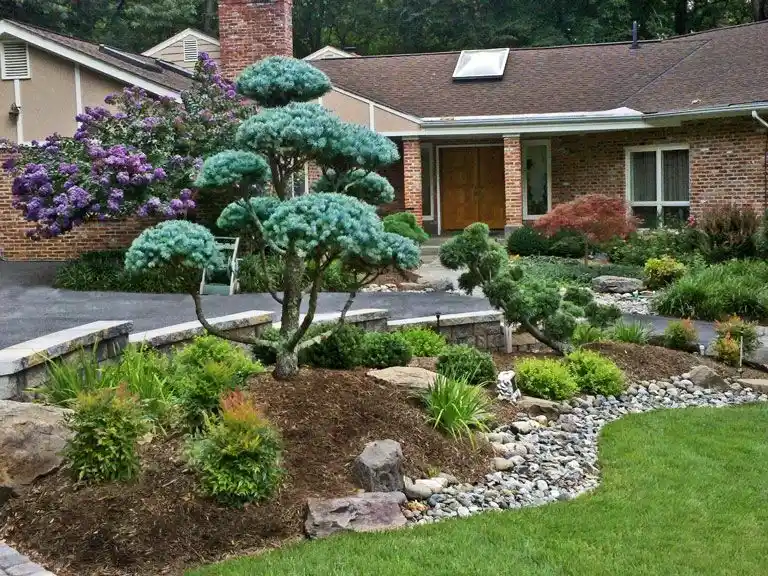
Think about adding cozy outdoor furniture, soft lighting, potted plants, or even a fire pit to enhance the atmosphere. Want a more serene vibe? Incorporate a water feature or garden accents for a tranquil escape right in your own yard.
The beauty of a DIY patio project isn’t just in the finished look—it’s in the satisfaction of building something with your own hands. You’ve created more than just a hard surface—you’ve built a space for memories, relaxation, and connection.
So go ahead—kick back, relax, and enjoy the backyard oasis you’ve brought to life.