Installing a patio sliding door is one of the best ways to upgrade your home with more natural light, convenient access to outdoor areas, and a modern aesthetic. Whether you’re replacing an outdated door or adding a new one, this step-by-step guide will walk you through the entire process with tips to ensure a smooth and professional-looking result.
Why Installing a Patio Sliding Door Is a Smart Move
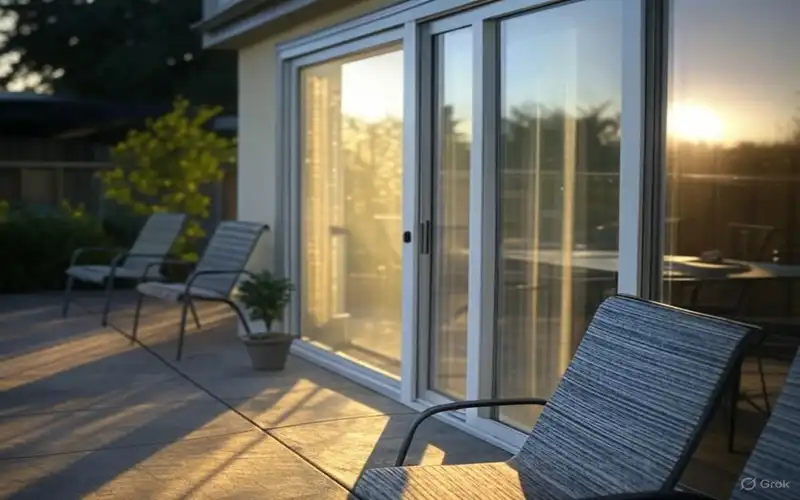
Before getting into the installation process, it’s worth understanding why so many homeowners are installing a patio sliding door today. These doors are more than just functional—they add style and energy efficiency to your home:
- Natural Light: Sliding doors feature large glass panels that bring in daylight and brighten up your interior spaces.
- Space-Saving Design: Since they slide rather than swing, they’re perfect for areas where space is limited.
- Energy Efficiency: Modern patio doors often come with dual-pane glass and weather sealing that help lower energy costs.
- Stylish Appeal: Their sleek, clean lines fit beautifully with both modern and traditional homes.
Tools & Materials You’ll Need
To successfully install your sliding patio door, gather the following tools and supplies before starting:
- Screwdriver or drill
- Pry bar
- Level
- Measuring tape
- Shims
- Insulation foam or fiberglass
- Caulk and caulking gun
- Hammer or nail gun
- Safety gear (gloves, goggles)
Step-by-Step Guide to Installing a Patio Sliding Door
1. Remove the Old Door (If Applicable)
If you’re replacing an old sliding or hinged door, begin by removing it carefully. Use a screwdriver or drill to take out screws and detach the panels. Pry off any molding or trim using a pry bar. Be gentle to avoid damaging surrounding drywall or siding.
2. Prepare the Door Opening
Before installing a patio sliding door, ensure the opening is level, clean, and square. Measure diagonally across the corners to check for square alignment. Use a level on all sides and adjust using shims where needed. A level base is essential for smooth door operation.
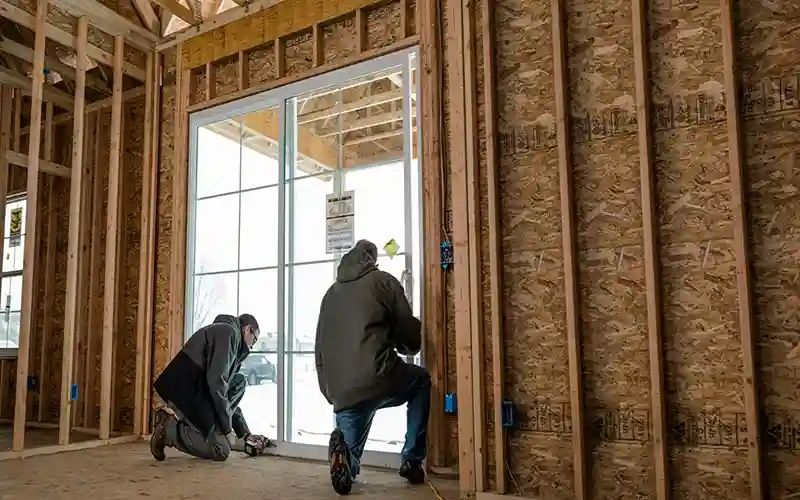
3. Fit and Secure the New Frame
Carefully position the new door frame into the opening. Use shims to fill any uneven gaps and to keep the frame square. Once aligned, screw the frame securely into place. Double-check the level and plumb during installation to avoid performance issues later.
4. Add Insulation and Seal the Frame
Use expanding foam or fiberglass insulation around the door frame to fill any air gaps. Then, run a bead of waterproof caulk along the outer edge of the frame to seal out moisture and prevent drafts.
5. Install the Sliding Door Panels
Now it’s time to insert the glass panels. Typically, one panel is stationary, while the other slides. Follow the manufacturer’s instructions for your specific model. Handle the panels carefully—glass is heavy and fragile.
6. Test Door Operation and Make Adjustments
Slide the door open and closed several times to ensure smooth gliding. Adjust the rollers or track height if necessary. Make sure the door locks securely and the latch lines up properly.
7. Reinstall Trim and Finish the Look
Finish up by reinstalling or replacing the interior and exterior trim around the door. Caulk all seams for weather protection and a polished appearance. Finally, paint or stain the trim if needed to match your home’s décor.
Pro Tips for Installing a Patio Door
Always work with a helper. Sliding doors are bulky and may be difficult to install alone.
Follow manufacturer guidelines closely to avoid voiding warranties.
Double-check your measurements before ordering or installing to ensure a perfect fit.
Use high-quality caulk and insulation for long-term energy savings.
Final Thoughts on Installing a Patio Sliding Door
Installing a patio sliding door is a worthwhile upgrade that blends indoor and outdoor living while improving energy performance and visual appeal. With proper preparation and attention to detail, this can be a successful weekend DIY project. You’ll enjoy not only the added functionality but also the fresh, open feel it brings to your home.